HOME
ABOUT US
MEMBERS and MIATAS
MIATAFREAK
REST in PEACE
LINKS and FAQ
The Alaska Miata Club website is owned by the AKMC.


Basics How to Customize a Miata
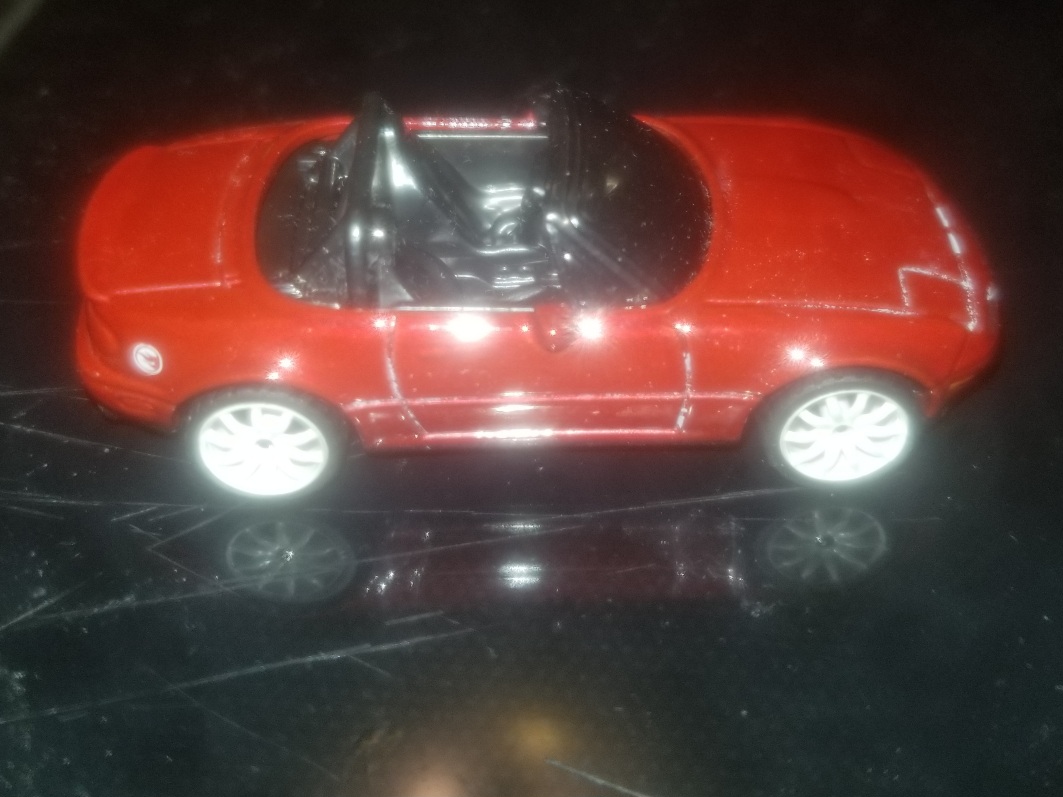
This page shows basic techniques to customizing your diecast 1/64 Miatas.
Removing Tampos
I use acitone and a q-tip. Dip q-rip in acetone and wipe. Use a new q-tip end as you remove more tampos. You don't want to wipe too hard othewise it will remove the paint.

Applying Waterslide Decals
Buy decals. Cut decals. Put in water for 20-30 seconds. Apply decals using tweezers by laying it on area and slide decal off to diecast OR pull backing paper away from decal. Adjust and place in position on Miata. Use q-tip to adjust decal and to suck up water. Allow to dry

Painting Headlights and Taillights
Buy paint pens or fine point permanent markers. Add details to front and rear lights or anything to add detail to your Miata.

Swapping Wheels
This method does not require to open the Miata. Also, no glue is required to secure wheels. The idea is to cut the axle using thin side cutters to remove the plastic wheels.

After removing the plastic wheels and axles you need the rubber wheels and axle kit. Axle kits include 2 hollow axles and 4 axle pins, and 4 wheels with rubber tires.

Bend two axle pins slightly. Take one axle pin and slide it into hollow axle. Friction will hold tires to axle. Slide axle through outer face of one wheel. Head of pin will hold wheel. Continue to slide axle through Miata. Put wheel on axle with outer face outside. Put bent axle pin. You might have to use something to push pin in. Repeat for other set of wheels and axles.
